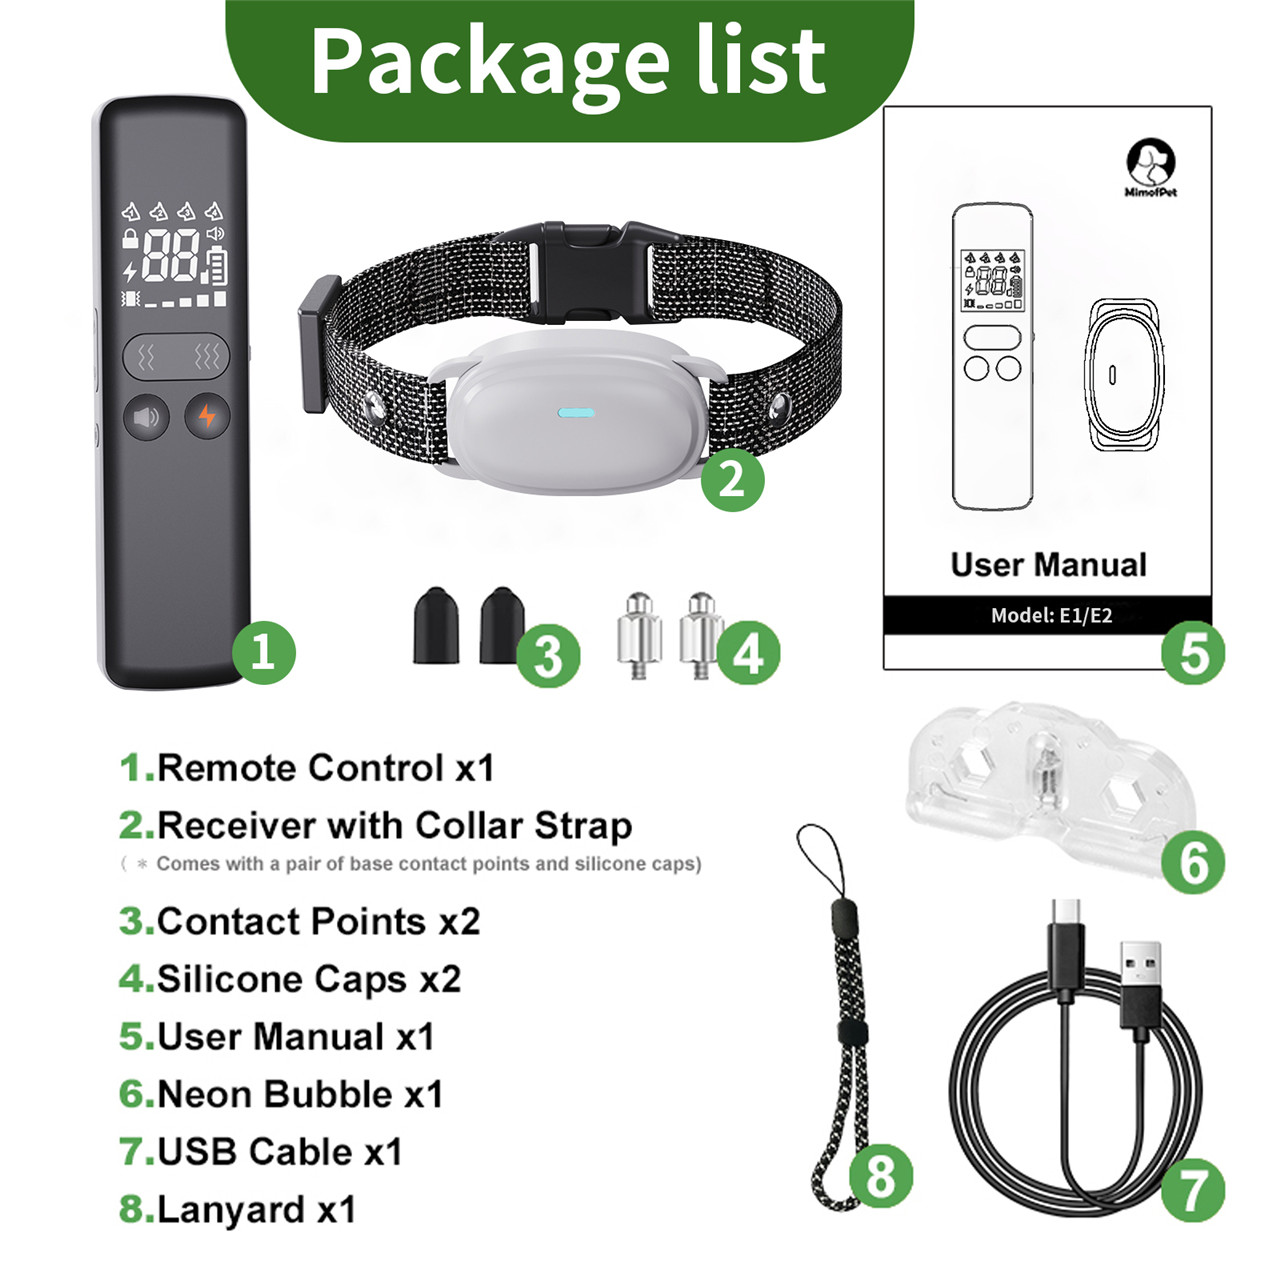
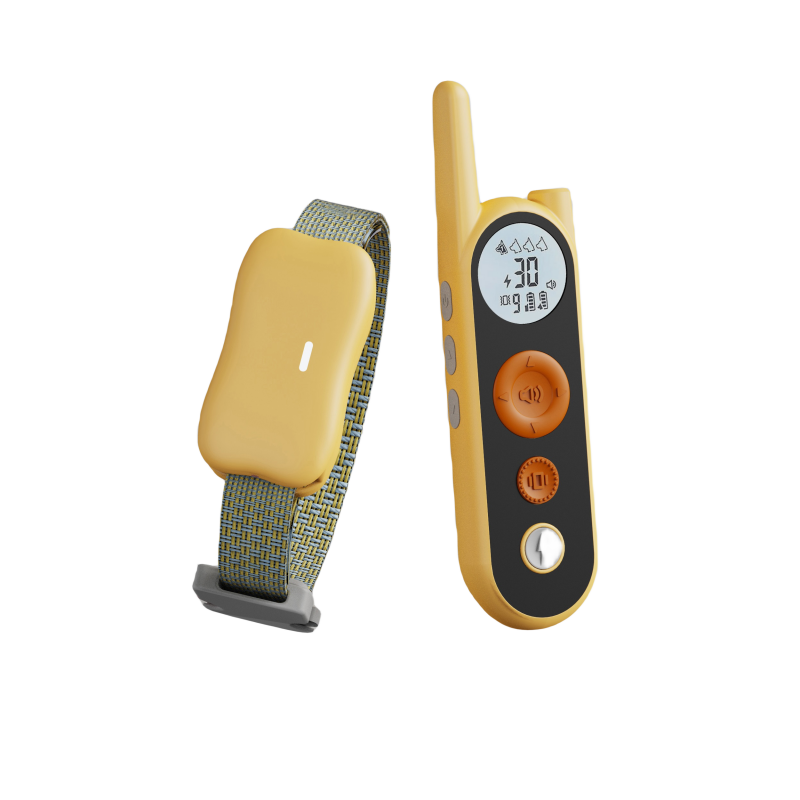
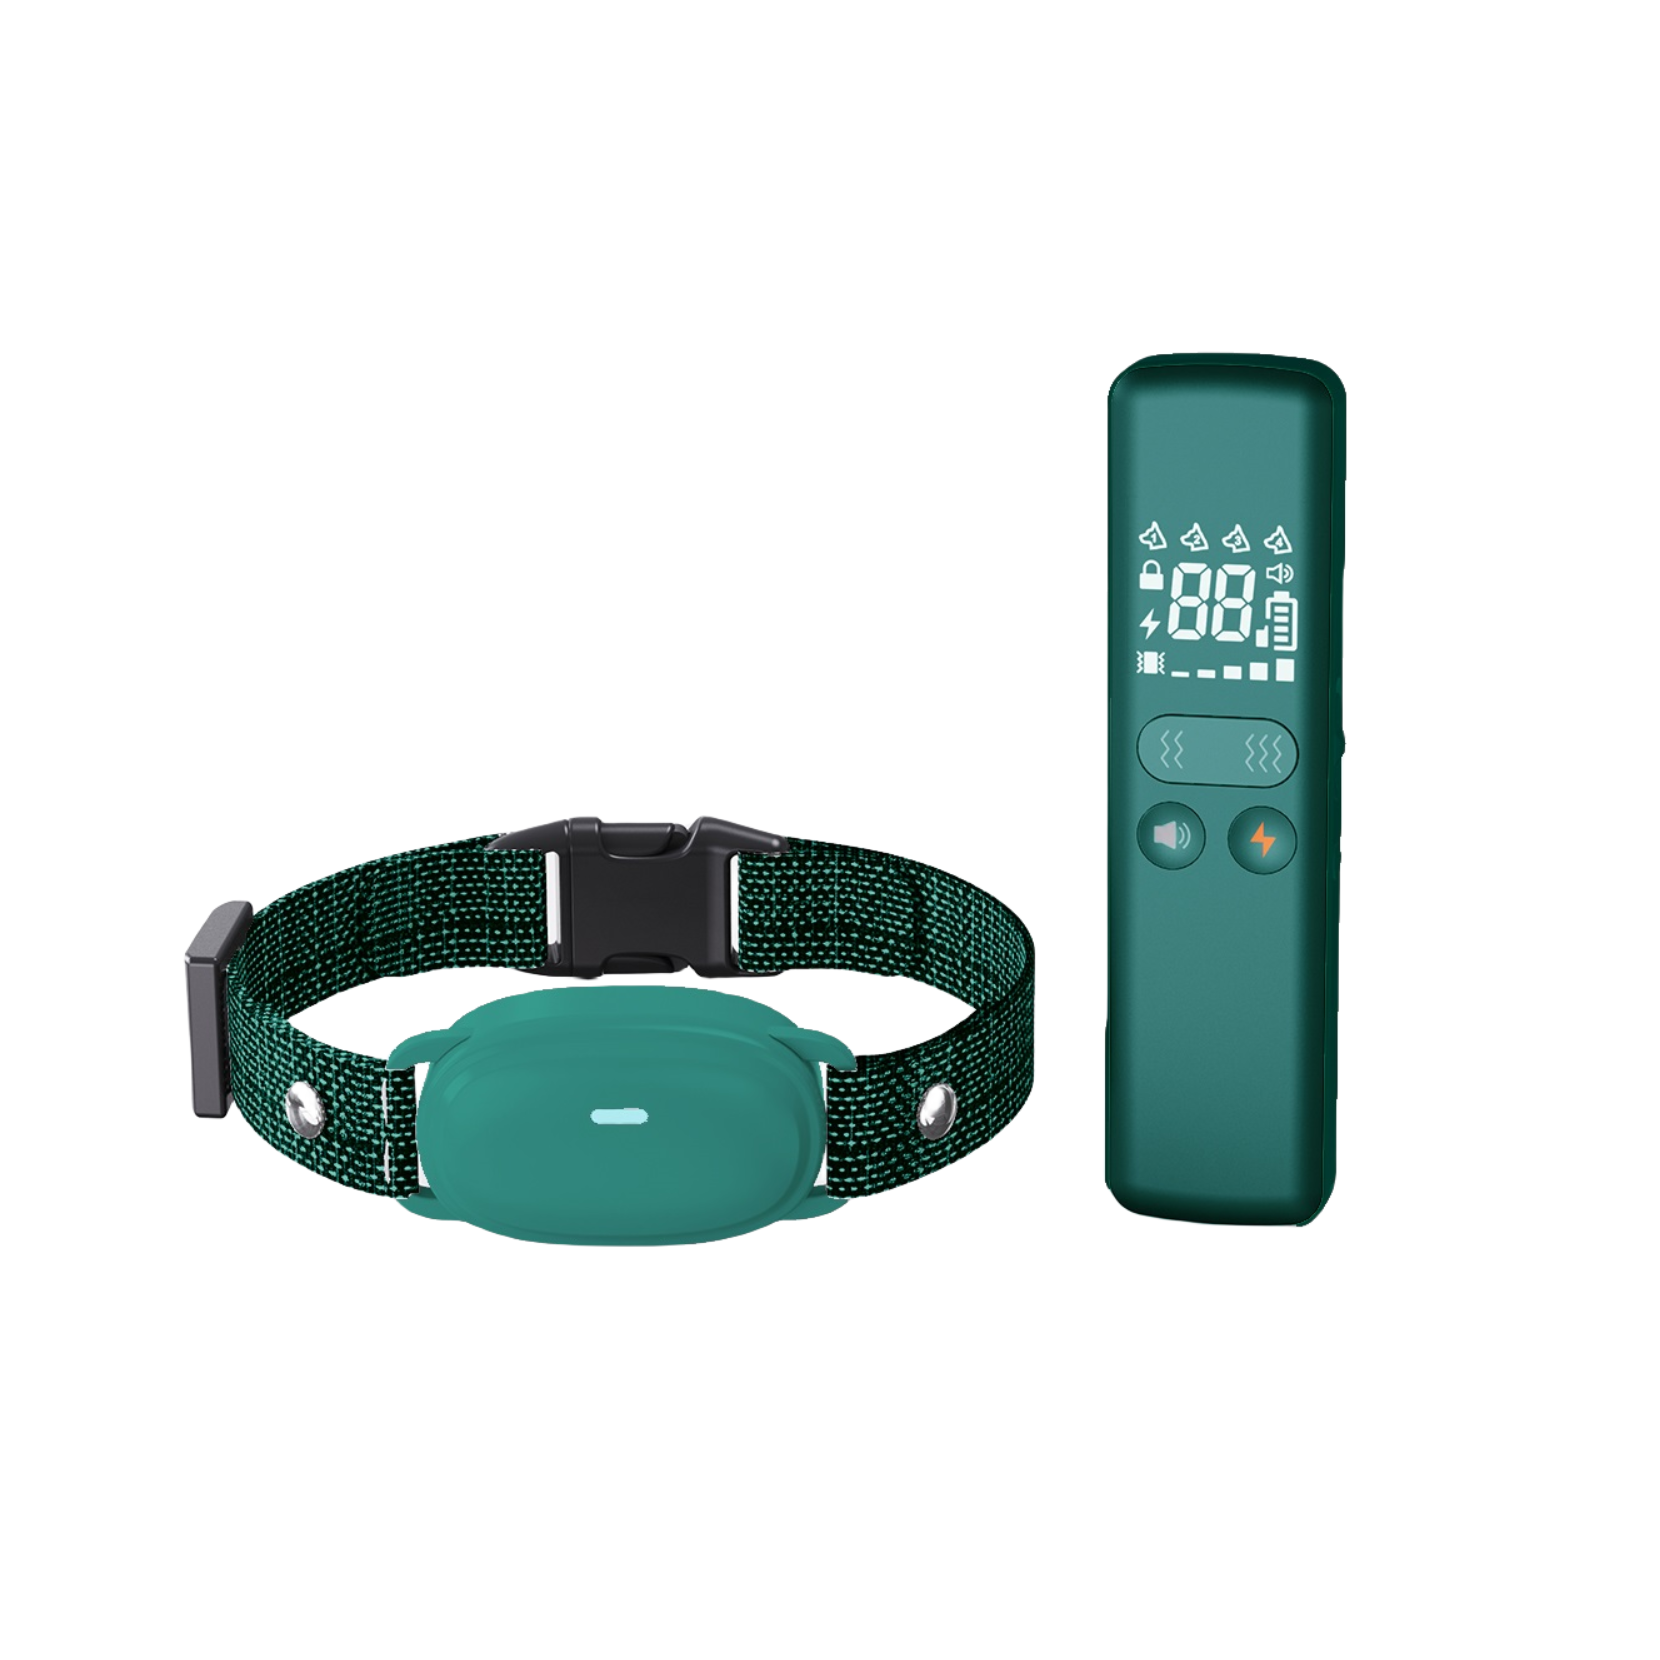
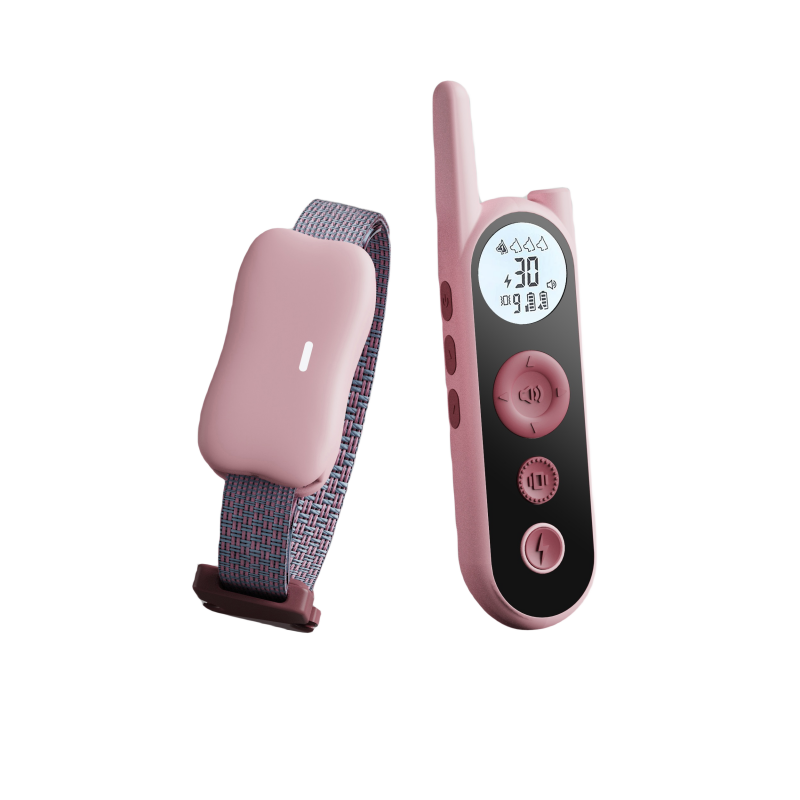
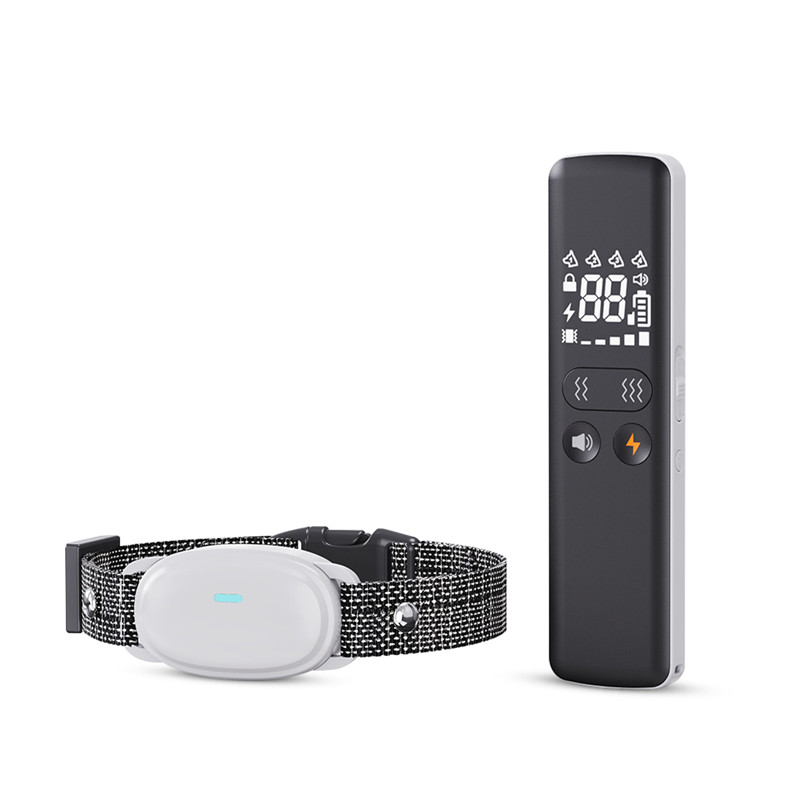
Rechargeable Collar – IPX7 Waterproof Electric Collar (E1-3Receivers)
ONE remote control no bark collar can be connected to multiple dogs' waterproof independent Flashlight remote control electronic dog training collar with shock collar
Specification
|
Specification Table |
|
| Model | E1-3Receivers |
| Package Dimensions | 19CM*14CM*6CM |
| Package Weight | 400g |
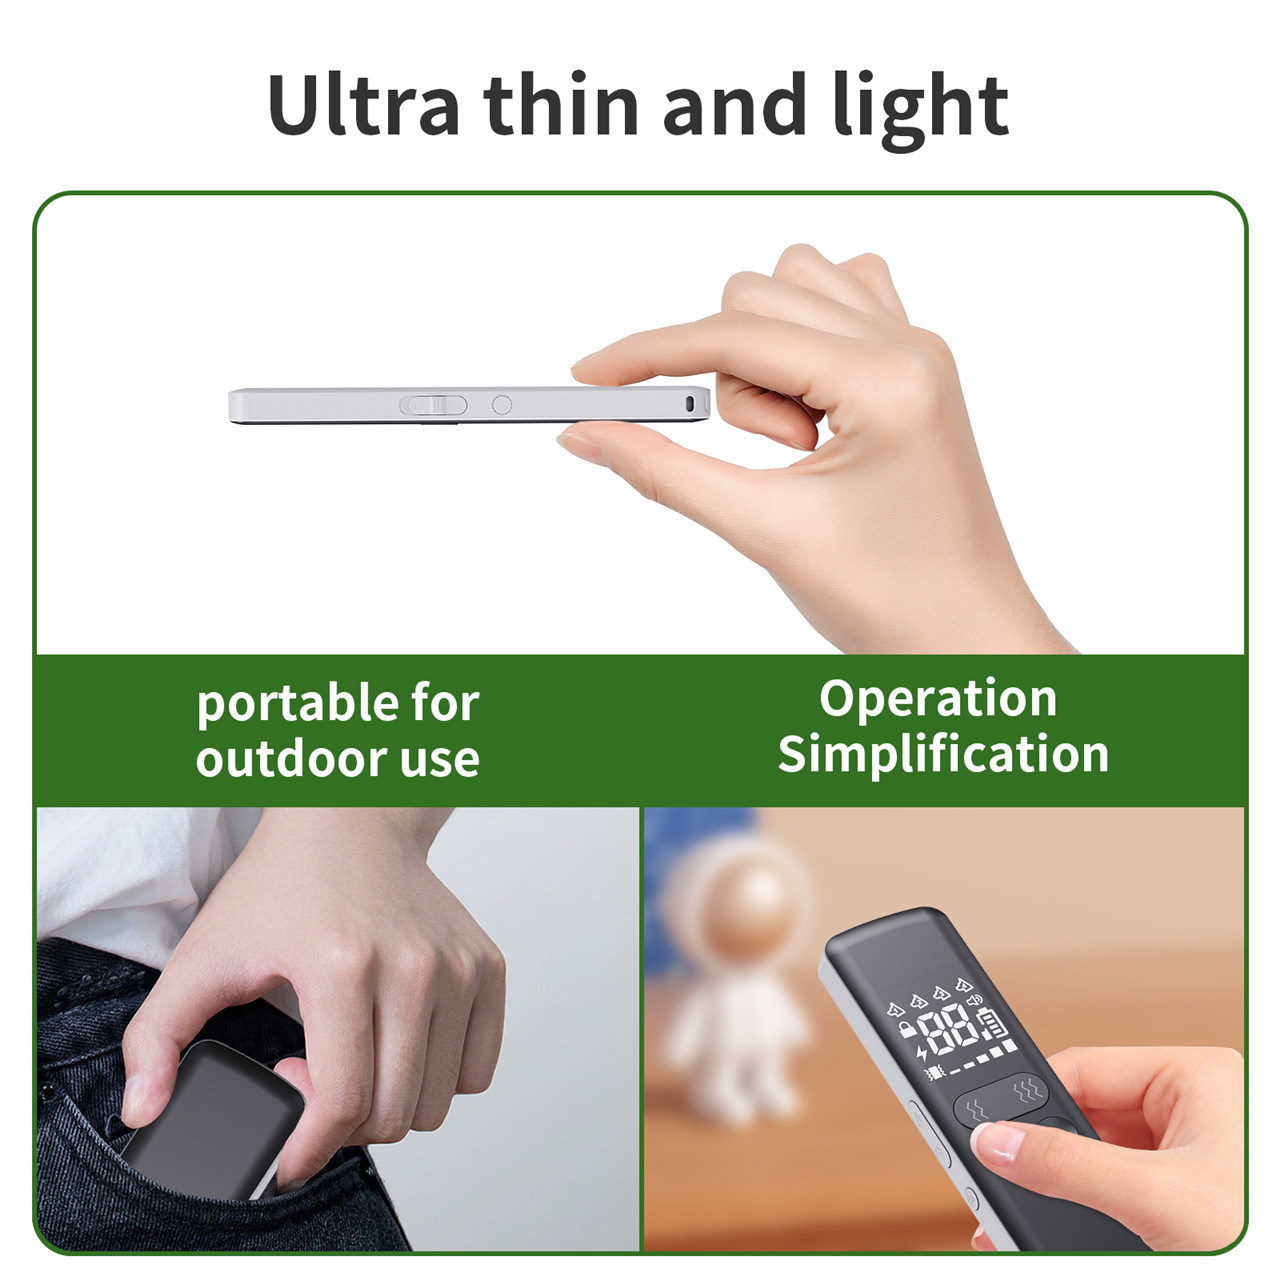
| Remote Control Weight | 40g |
| Receiver Weight | 76g*3 |
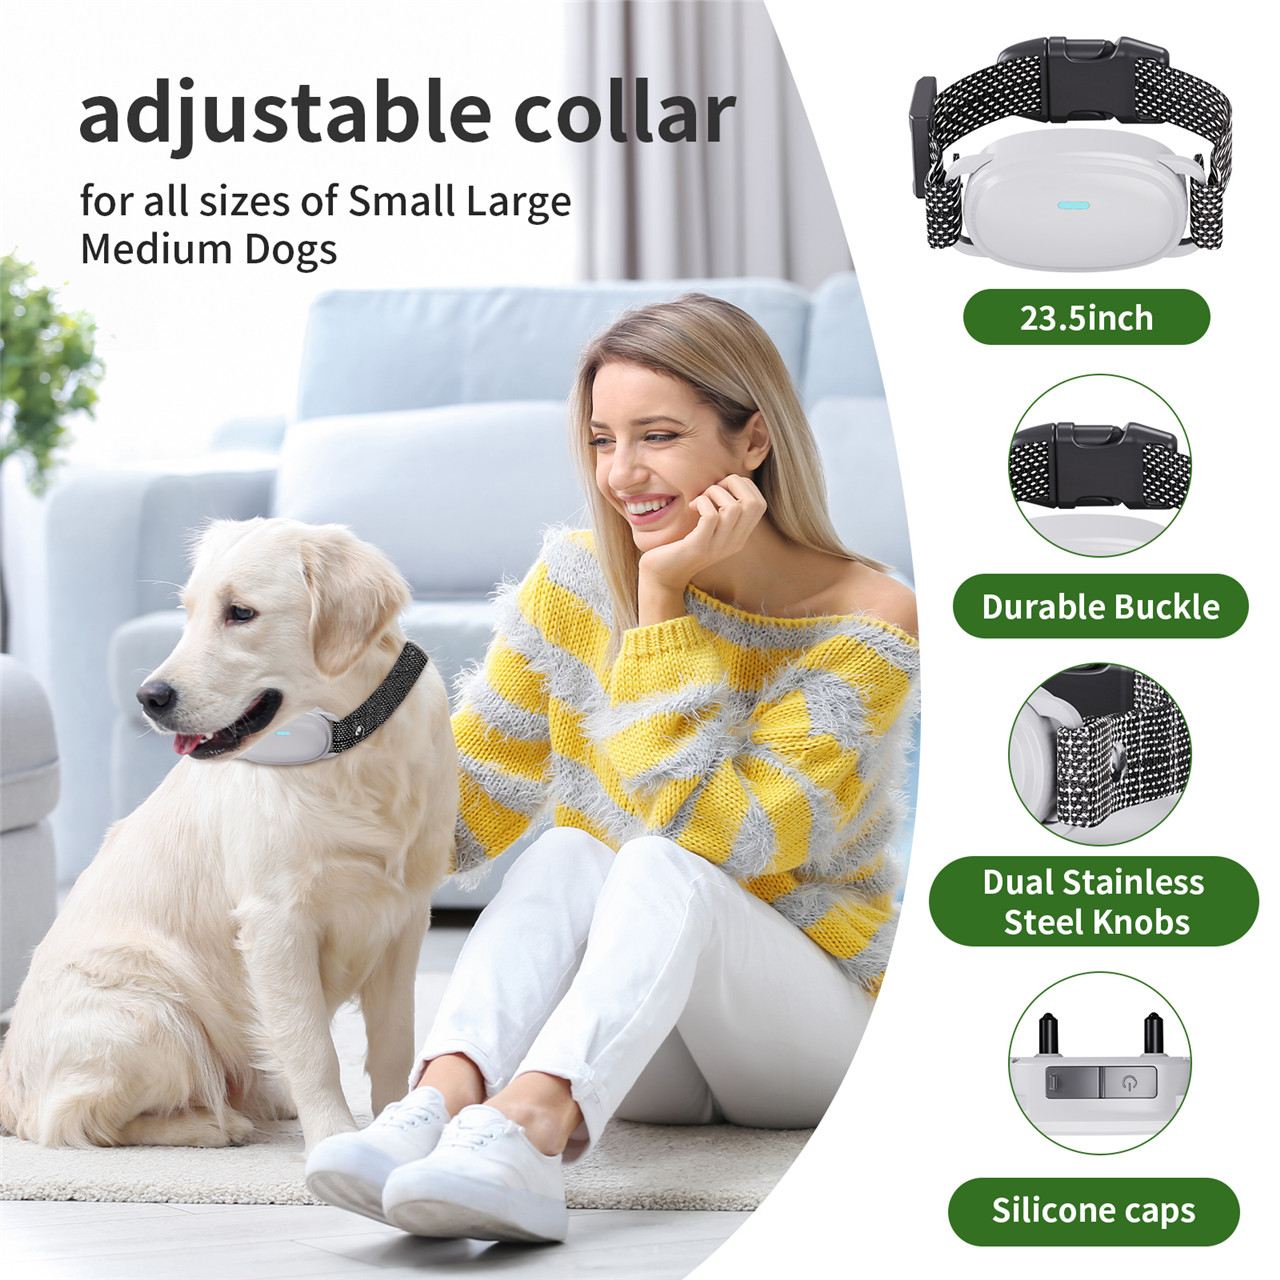
| Receiver Collar Adjustment Range Diameter | 10-18CM |
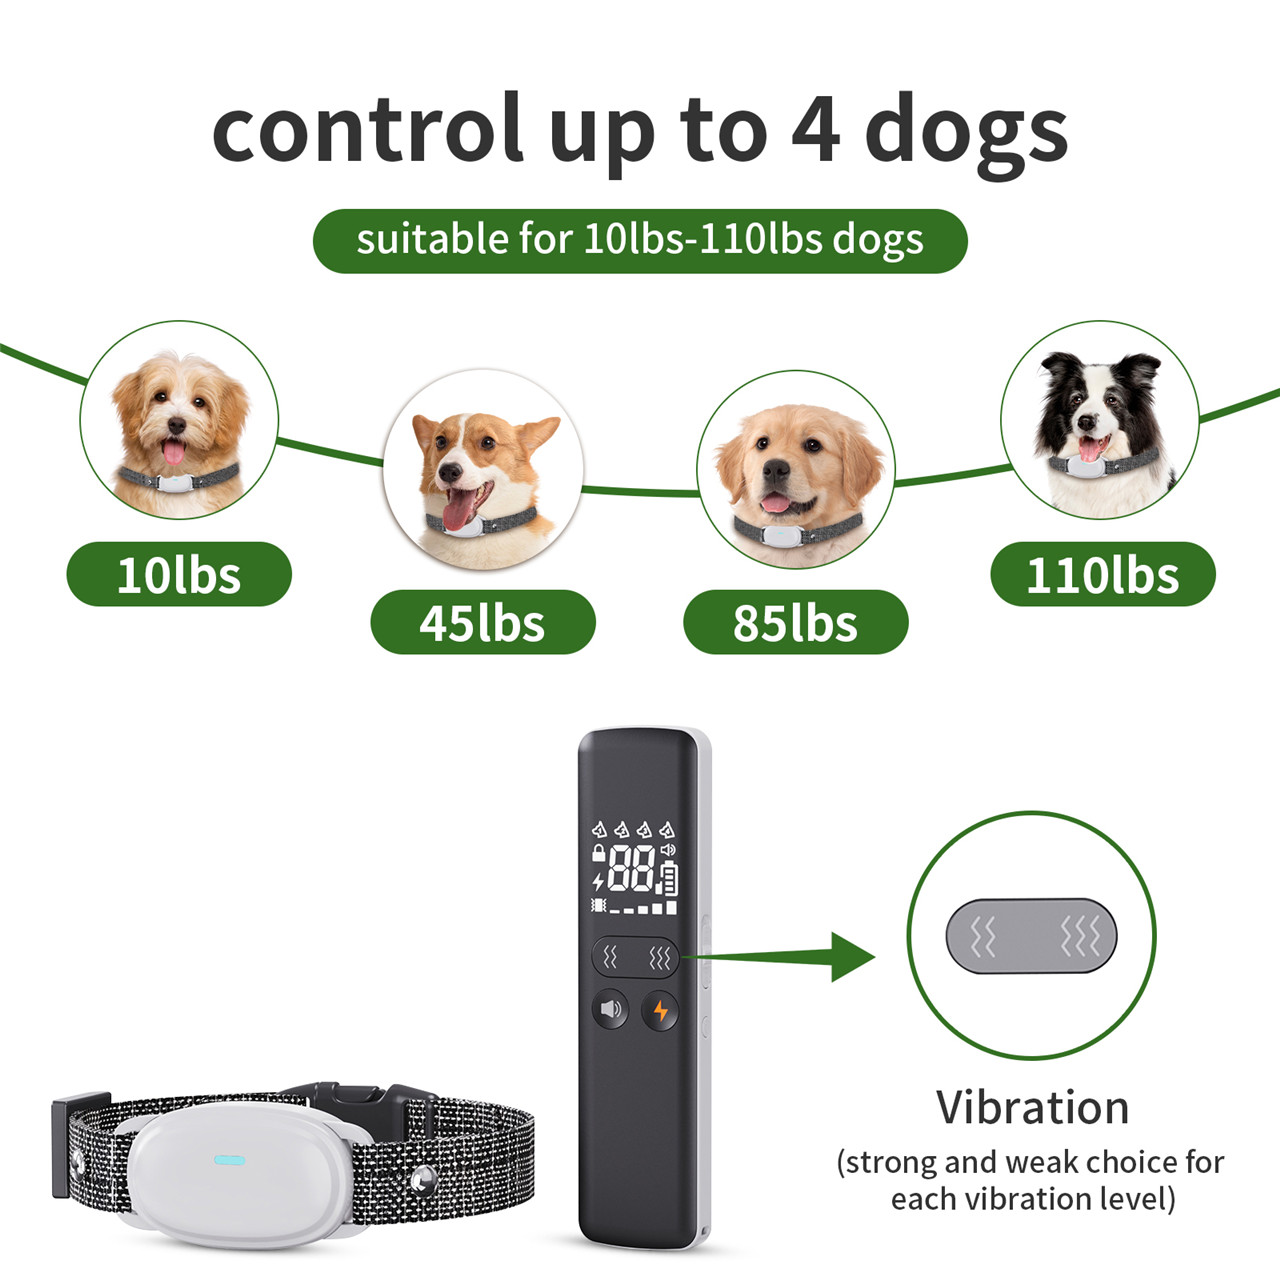
| Suitable Dog Weight Range | 4.5-58kg |
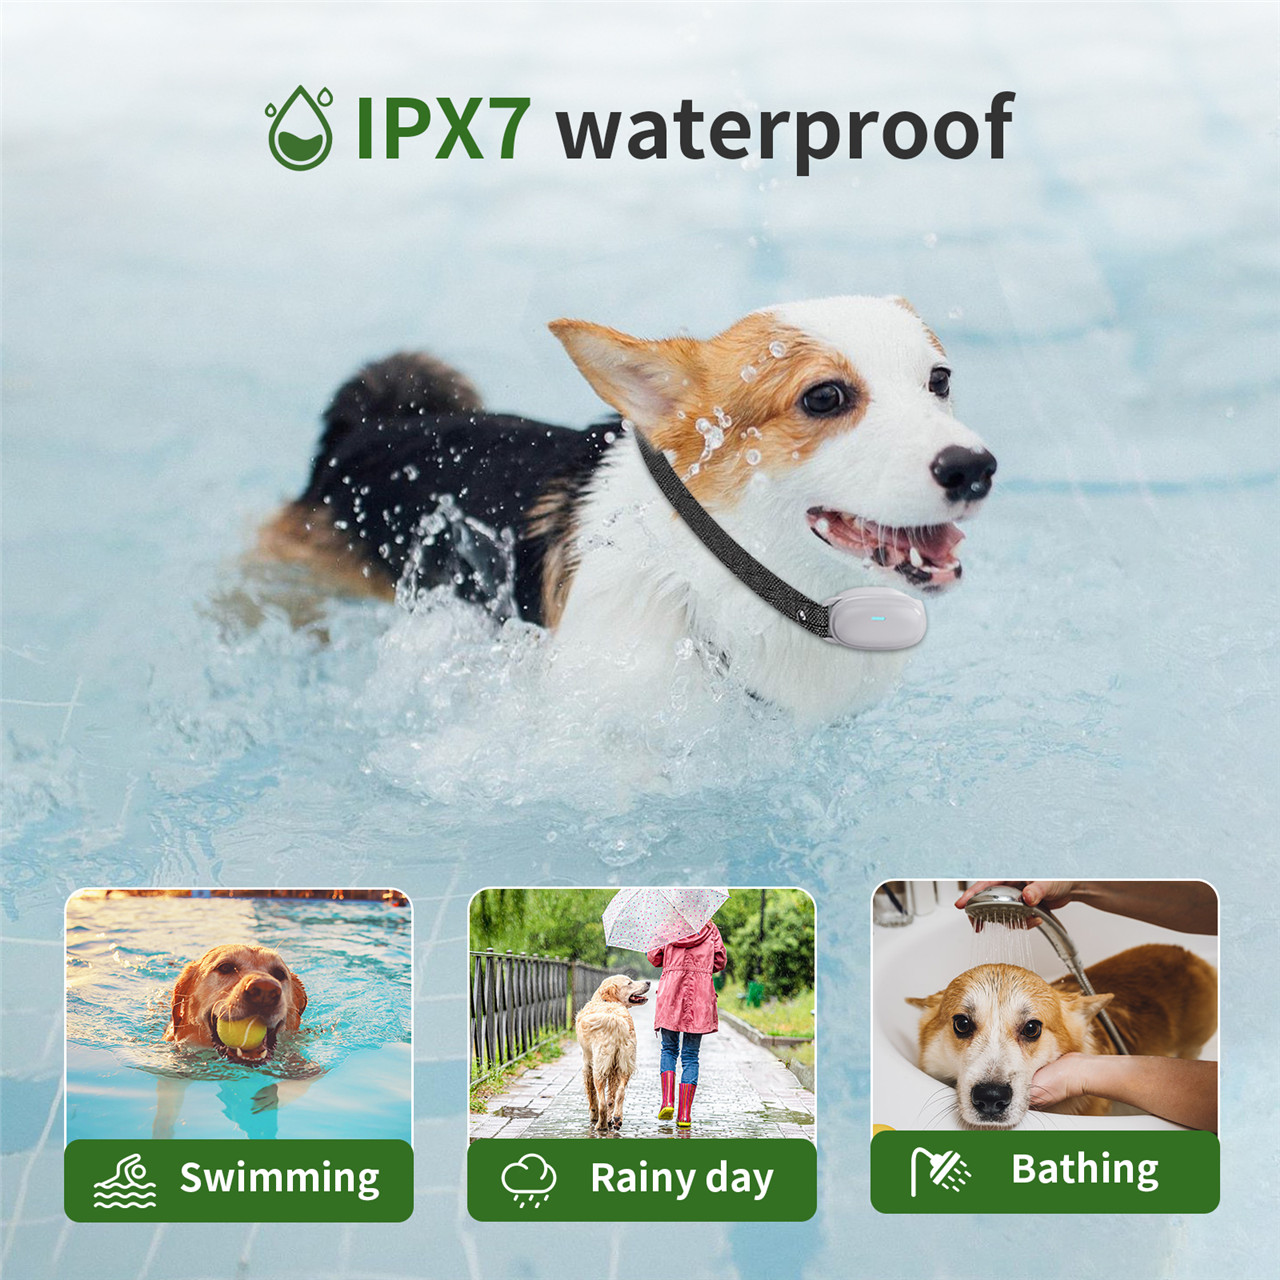
| Receiver Protection Level | IPX7 |
| Remote Control Protection Level | Not waterproof |
| Receiver Battery Capacity | 240mAh |
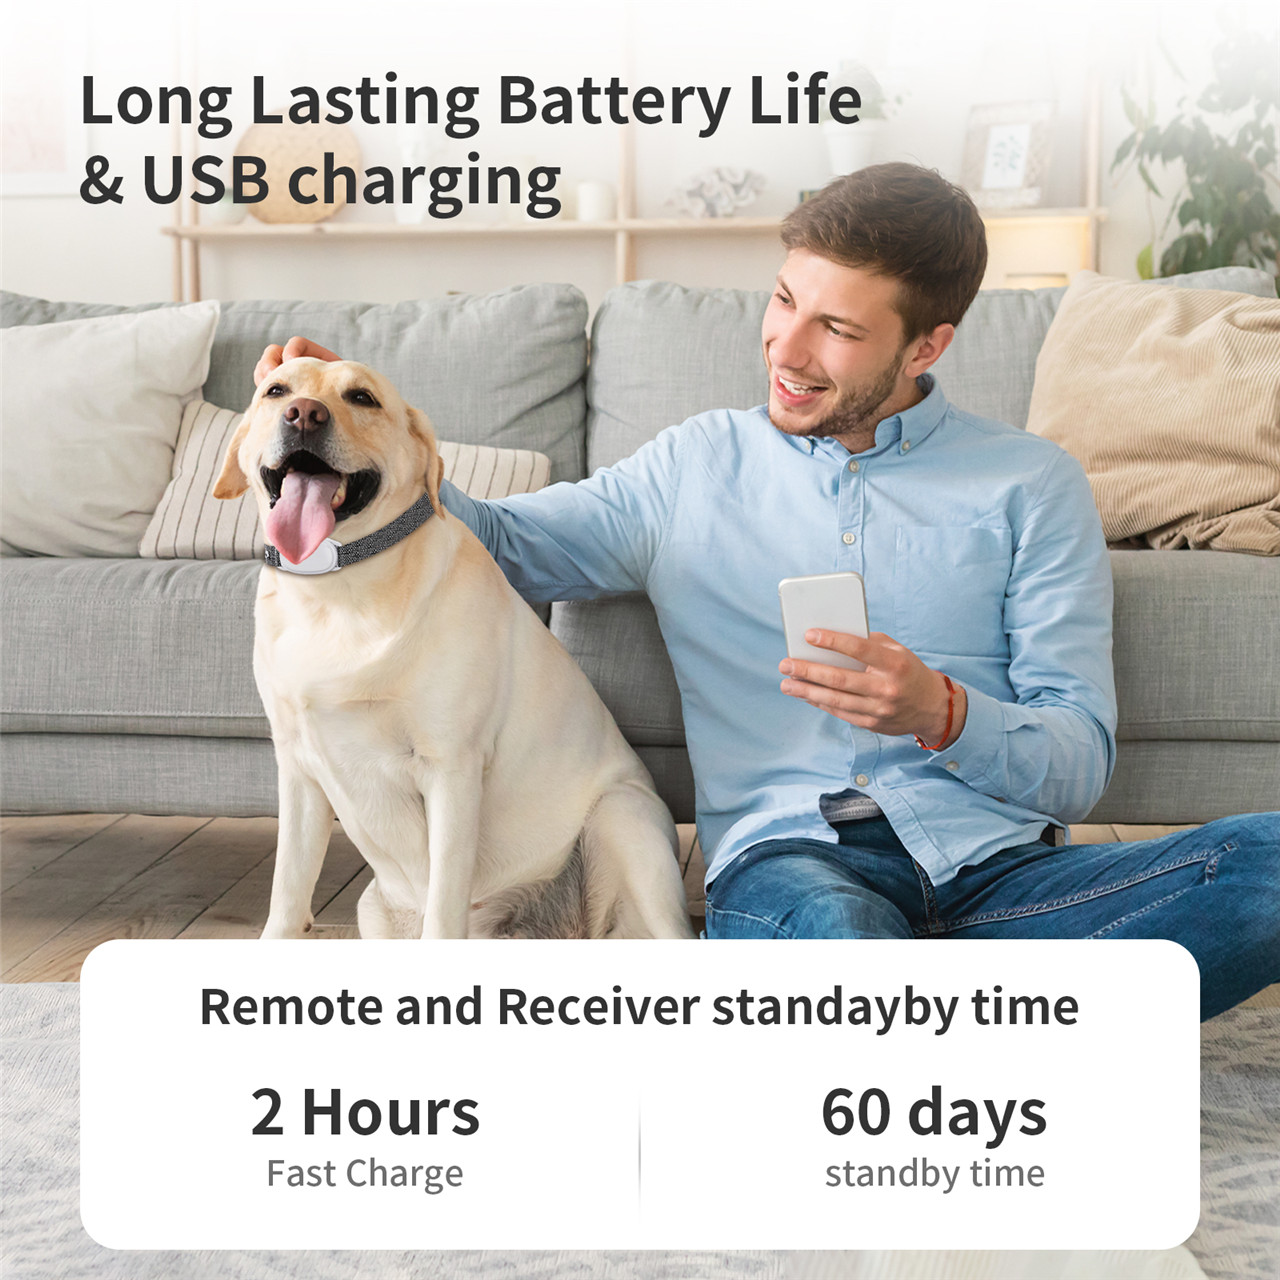
| Remote Control Battery Capacity | 240mAh |
| Receiver Charging Time | 2 hours |
| Remote Control Charging Time | 2 hours |
| Receiver Standby Time 60 days | 60 days |
| Remote Control Standby Time | 60 days |
| Receiver and Remote Control Charging Interface | Type-C |
| Receiver to Remote Control Communication Range (E1) | Obstructed: 240m, Open Area: 300m |
| Receiver to Remote Control Communication Range (E2) | Obstructed: 240m, Open Area: 300m |
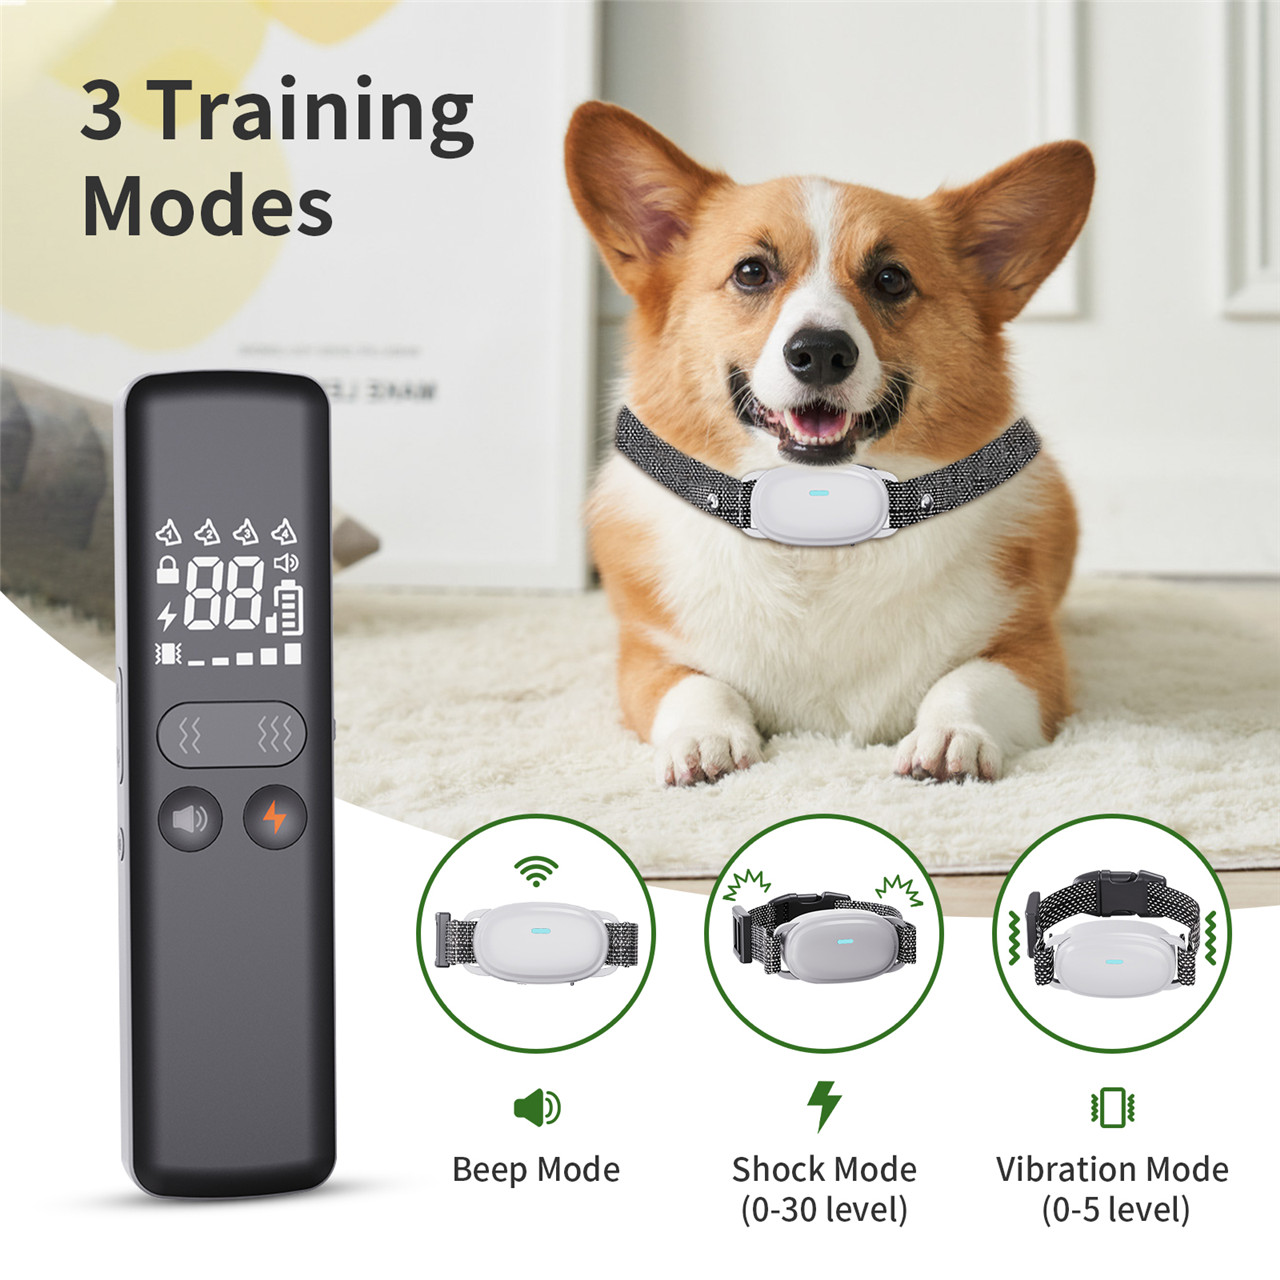
| Training Modes | Tone/Vibration/Shock |
| Tone | 1 mode |
| Vibration Levels | 5 levels |
| Shock Levels | 0-30 levels |
Features & Details
● Mimofpet dog shock collar come with a size adjustable collar strap, length from 10-18cm, fits dogs from 10 to 110 lbs
● This training collar receiver is IPX7 waterproof, your dog can wear it when swimming, raining, and doing outdoor activities. The remote is not waterproof.
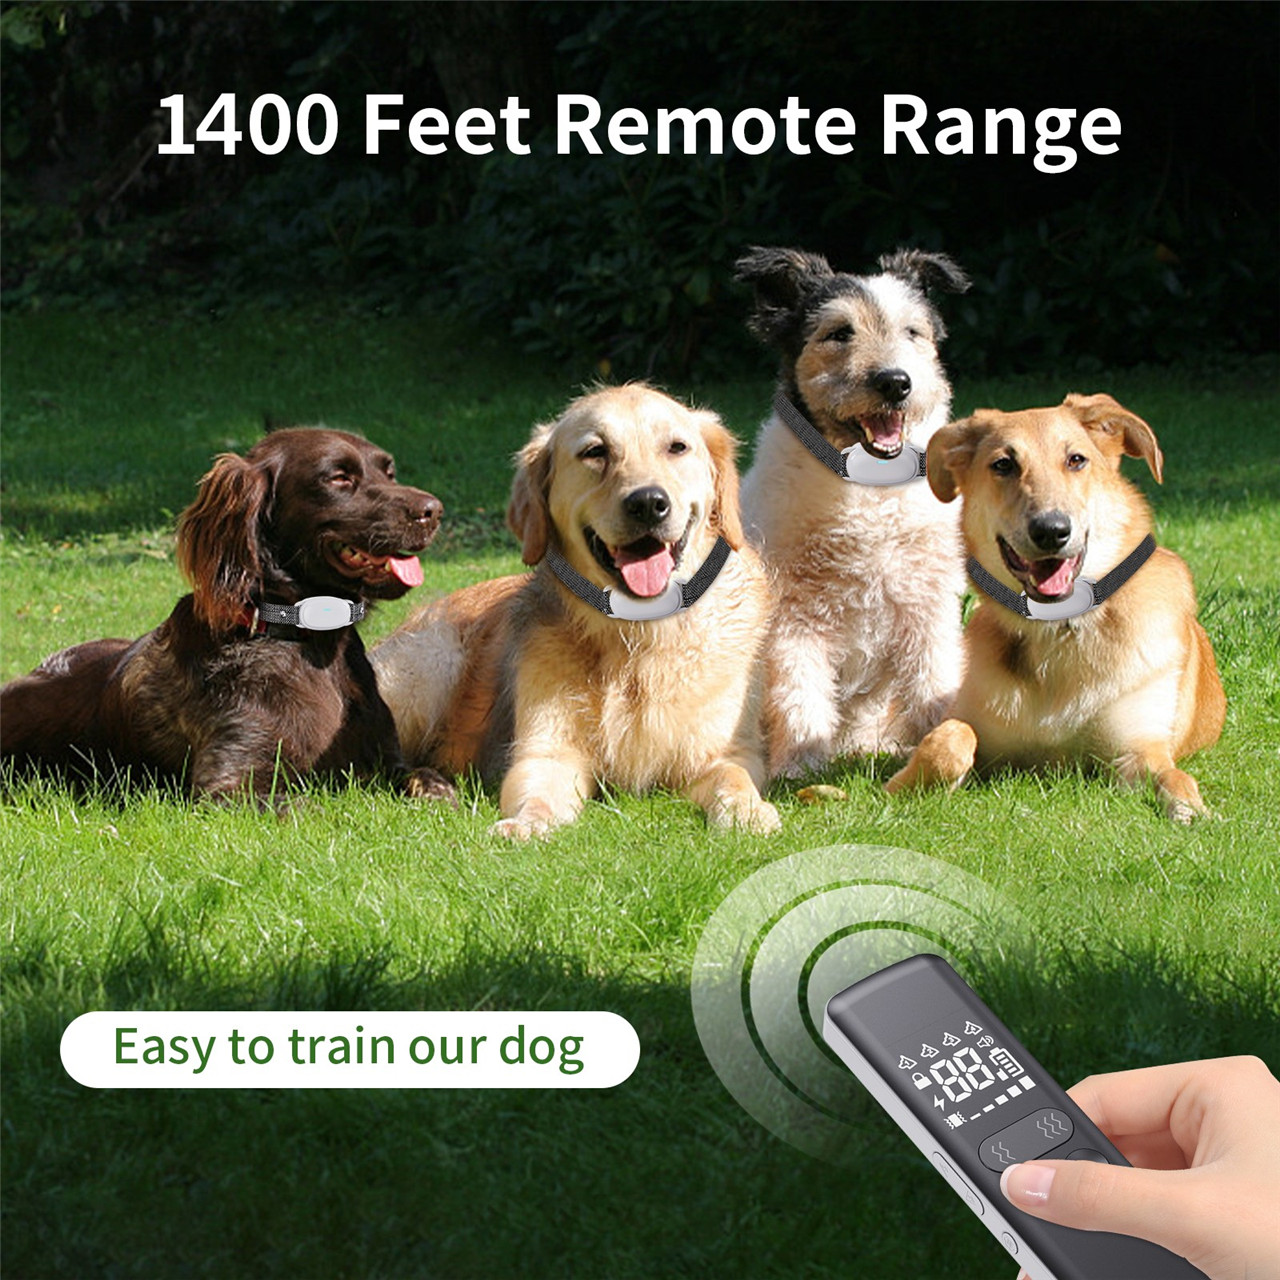
● One remote control can control multiple dogs at the same time
● Long time standby: 60days standby
● Independent Flashlight
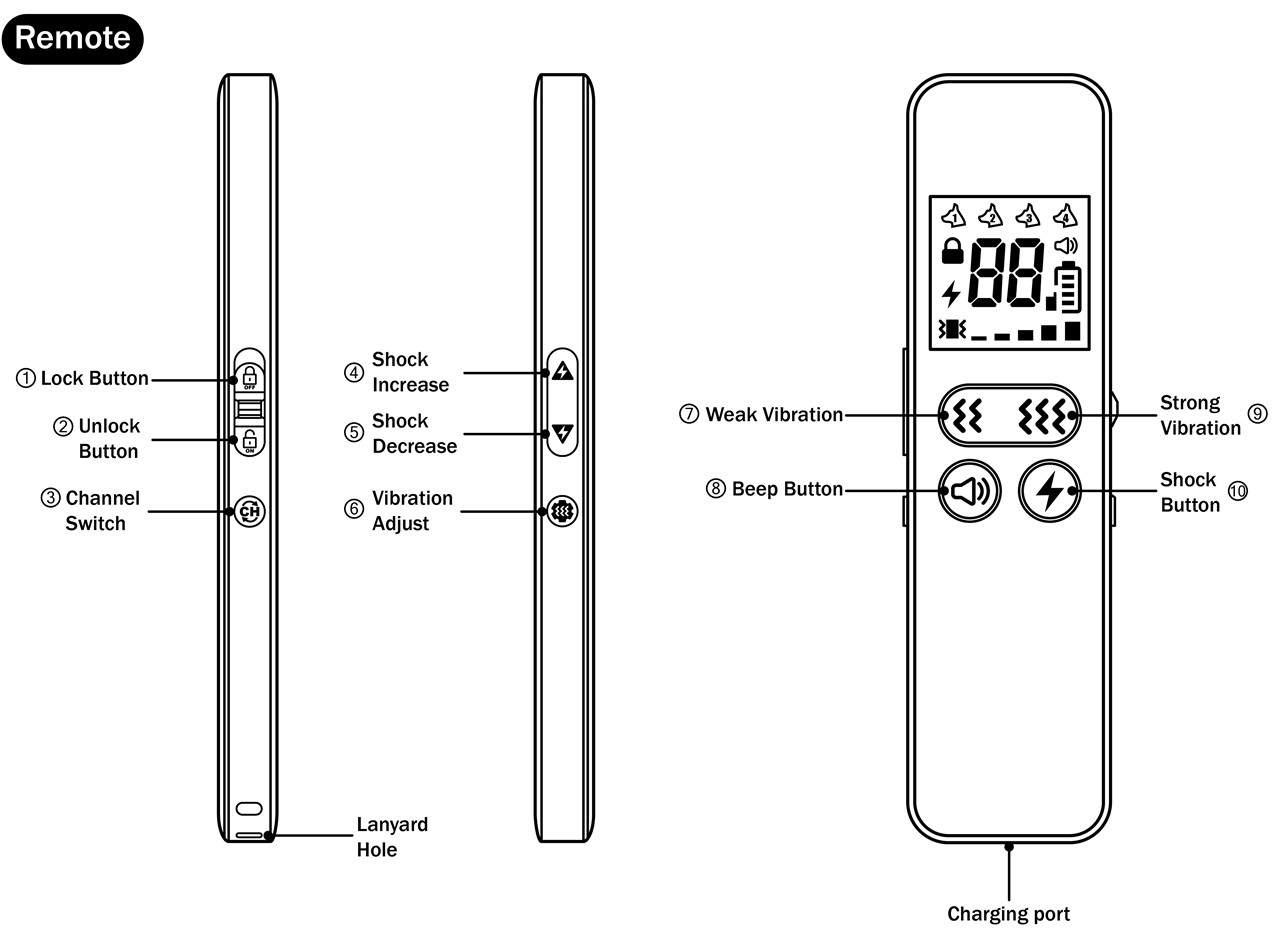
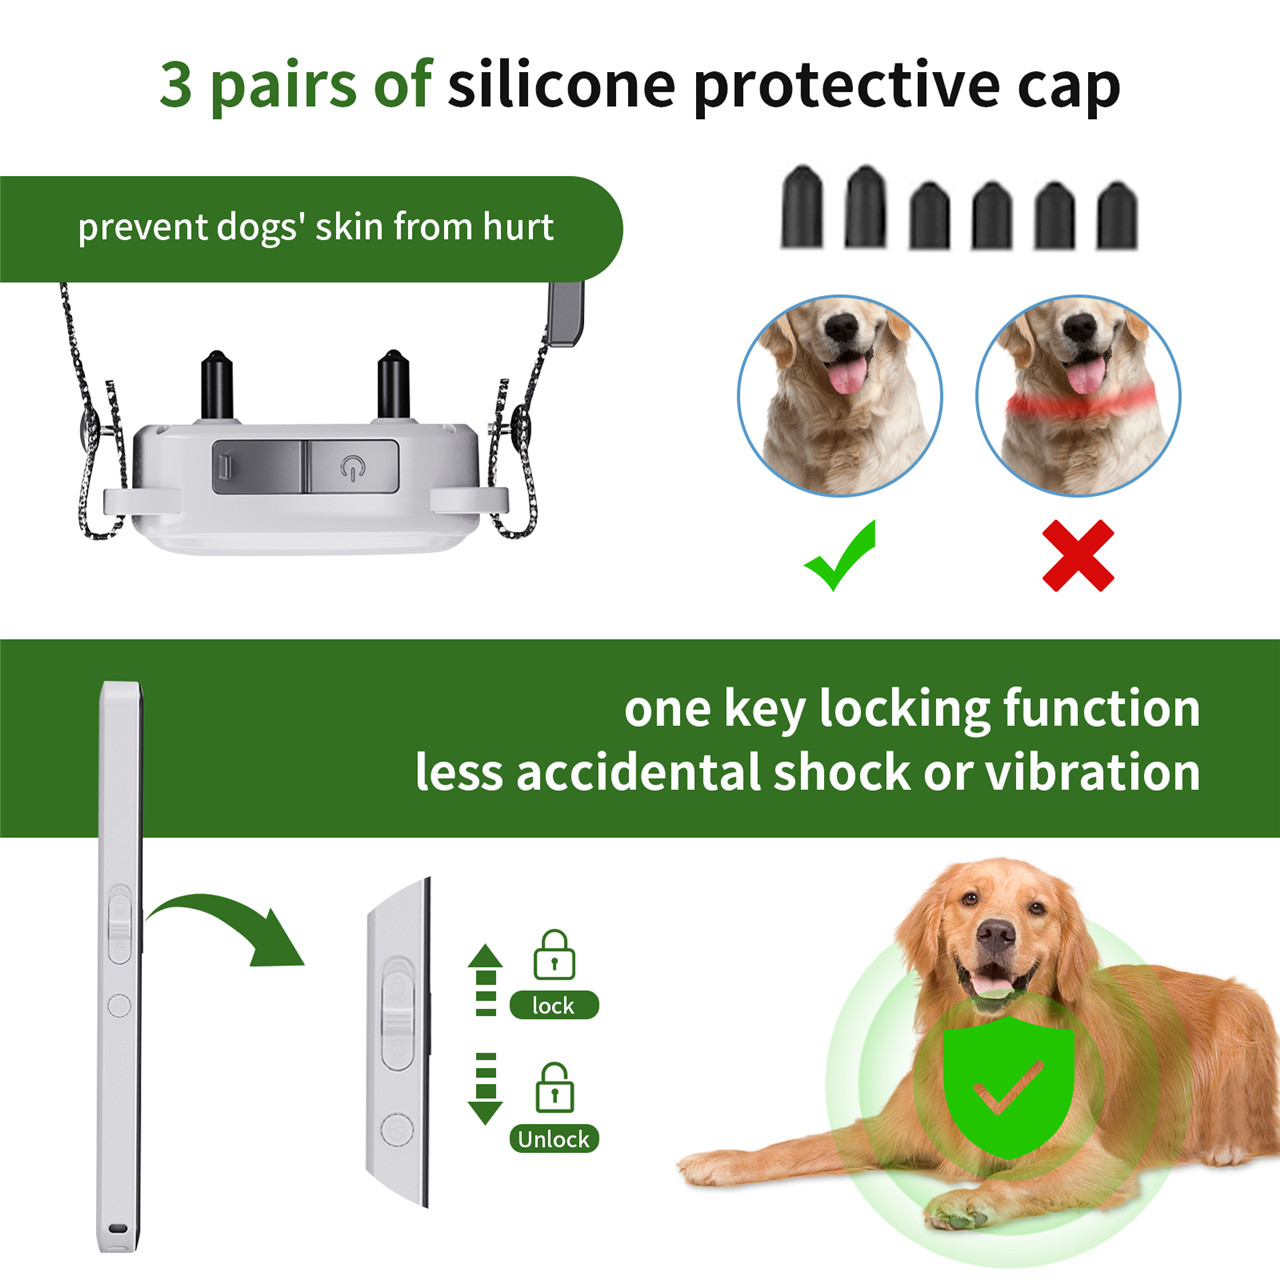
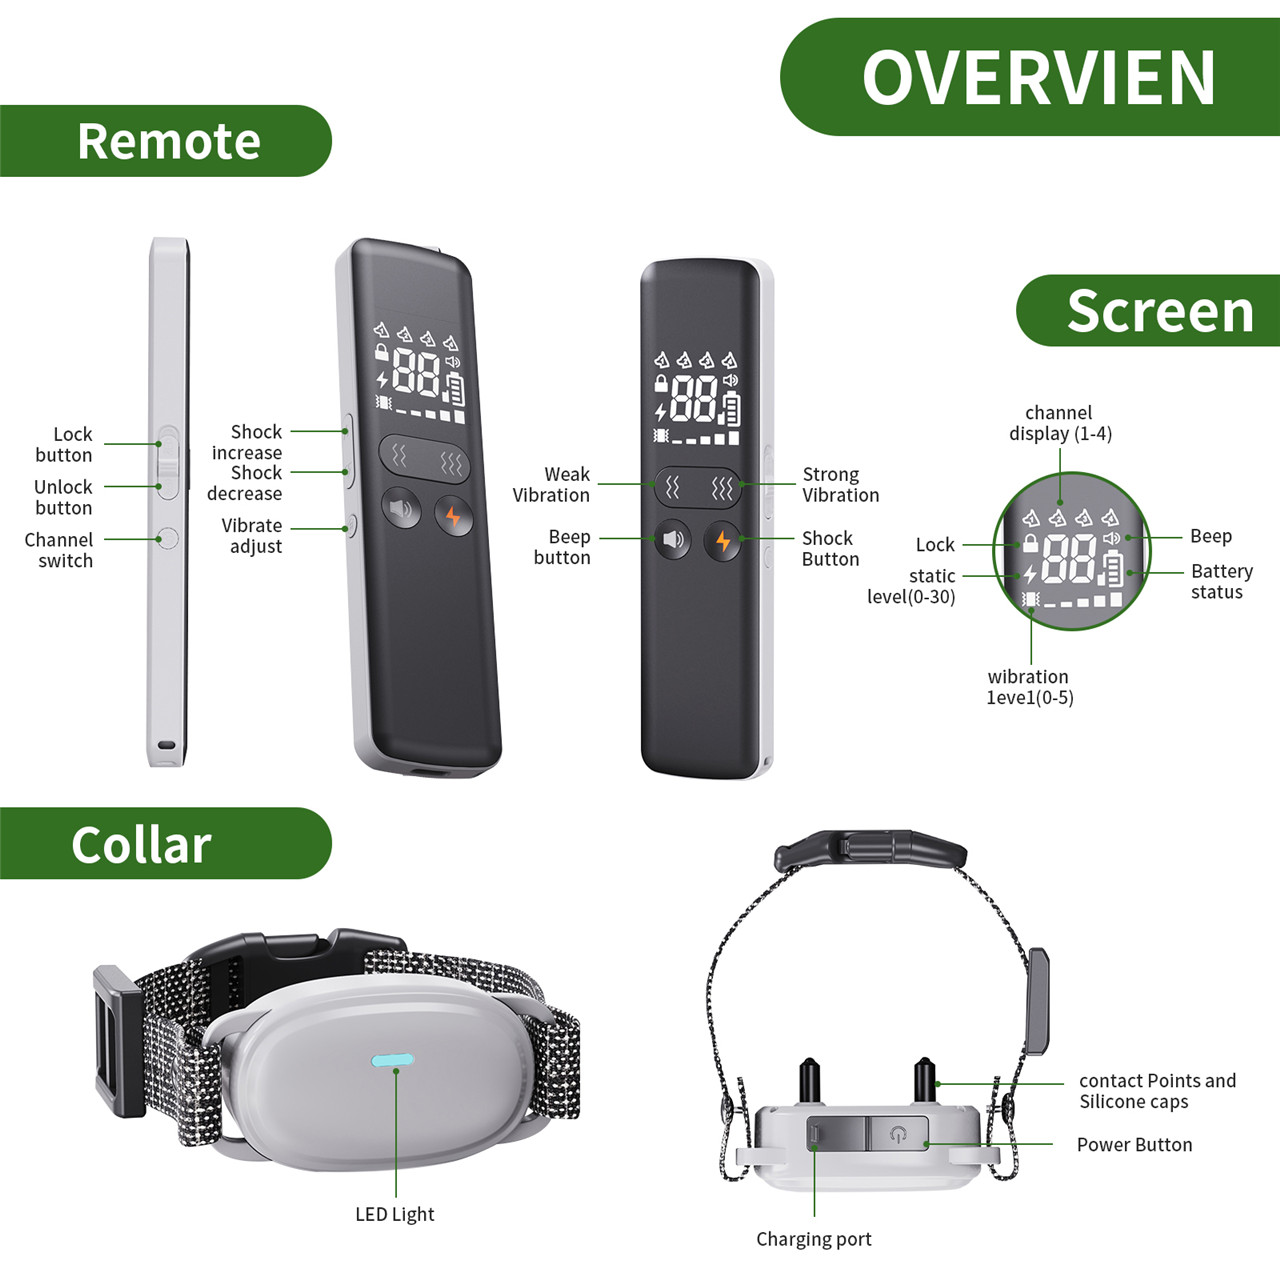
1. Lock Button: Push to (OFF) to lock the button .
2. Unlock Button: Push to (ON) to unlock the button .
3. Channel Switch Button ( ) : Short press this button to select a different receiver.
4. Shock Level Increase Button ( ).
).
5. Shock Level Decrease Button ( ).
).
6. Vibration Level Adjustment Button ( ): Short press this button to adjust vibration from level 1 to 5.
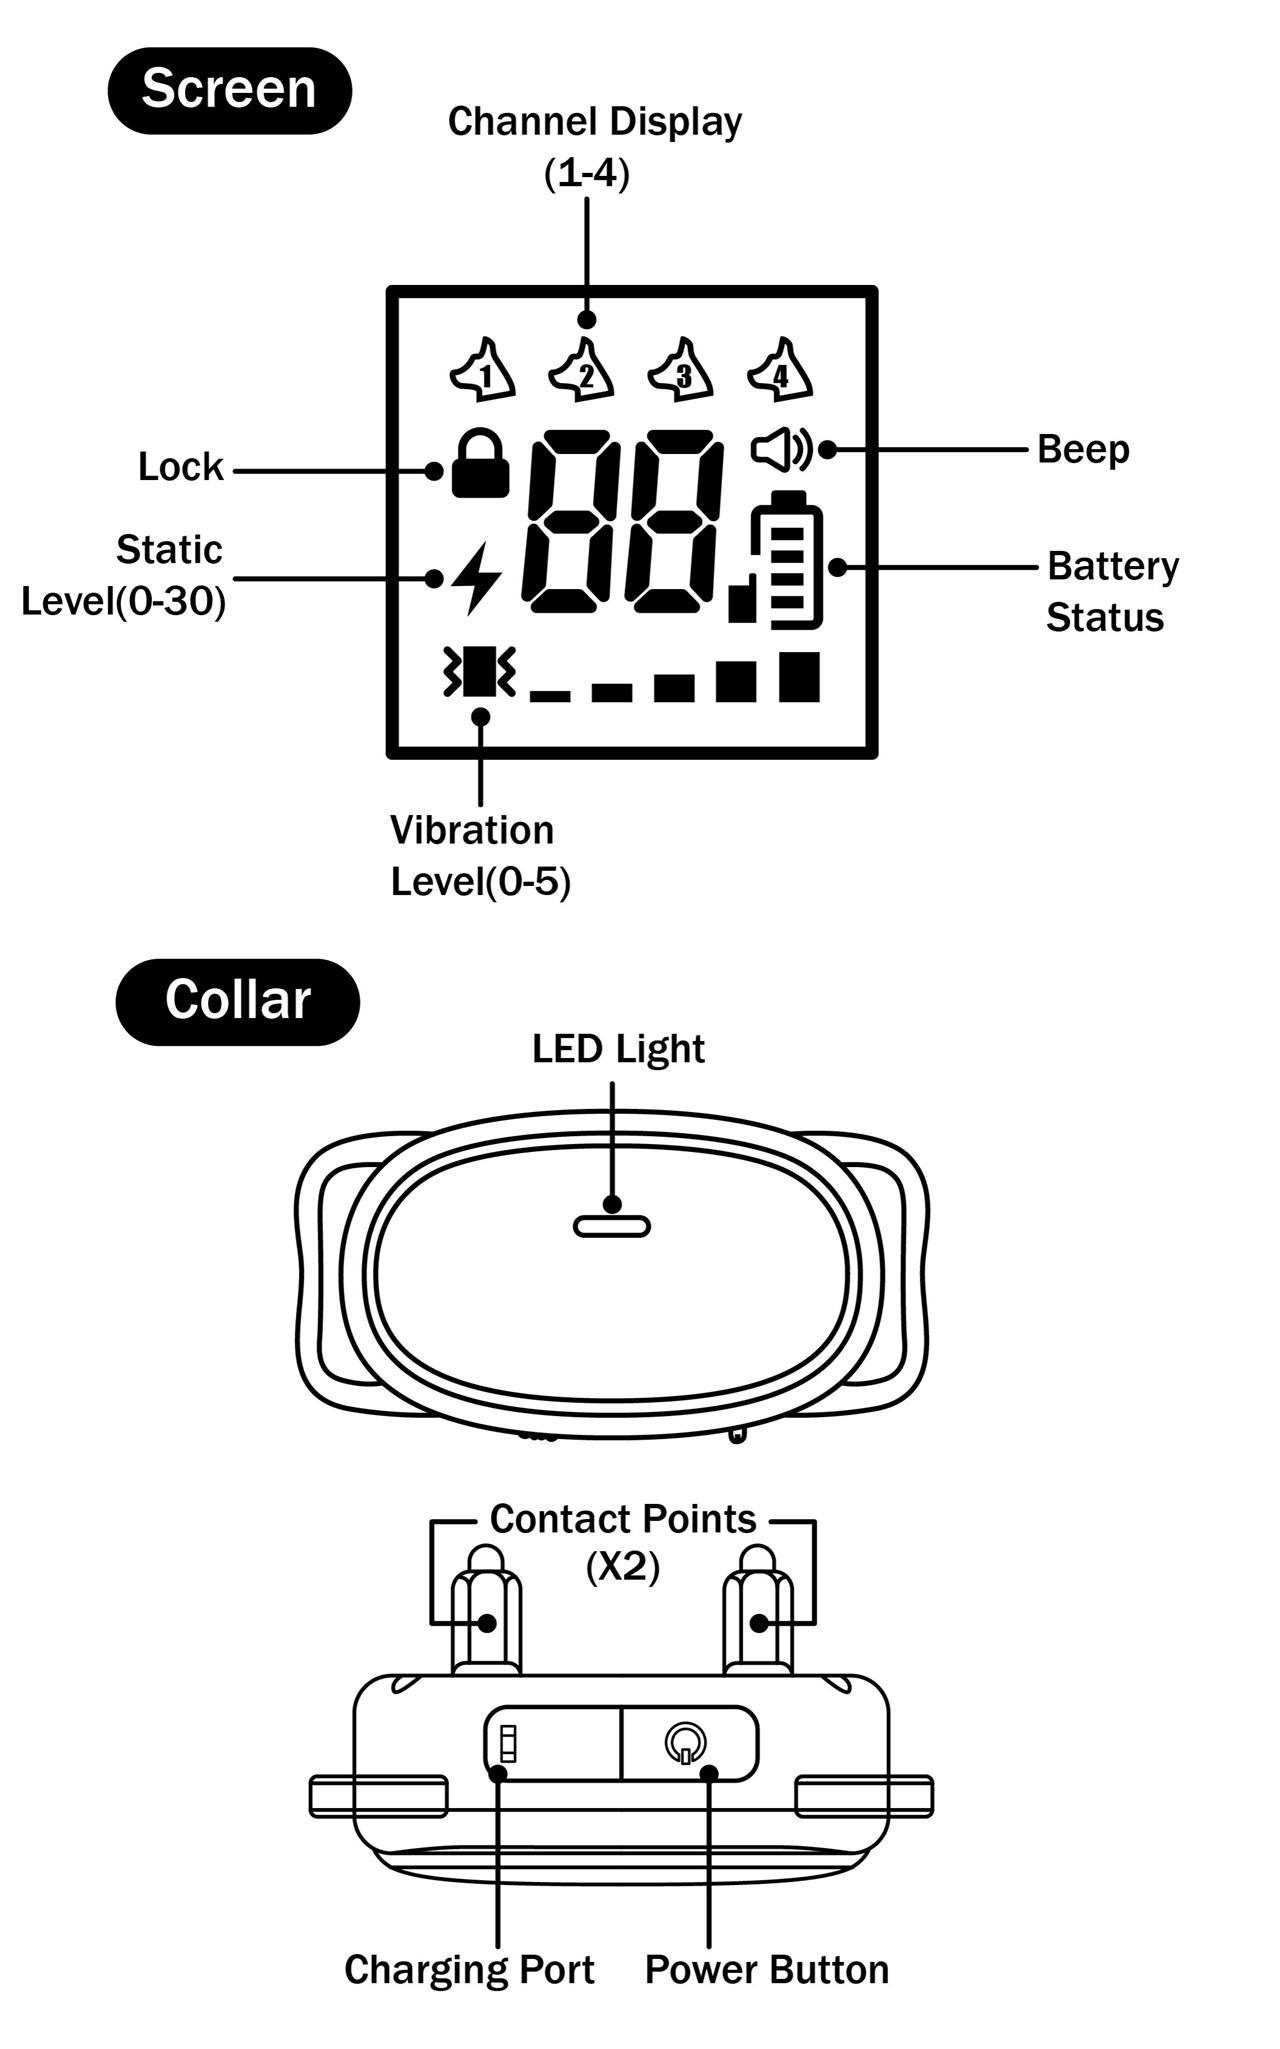
Remote Control Unlocking
1. Push the lock button to the (ON) position. The buttons will display the functions when operated. If no display is shown, please charge the remote control.
2. Push the lock button to the (OFF) position. The buttons will be non-functional, and the screen will automatically turn off after 20 seconds.
Pairing Procedure
(One-to-One pairing is already done at the factory, ready to use directly)
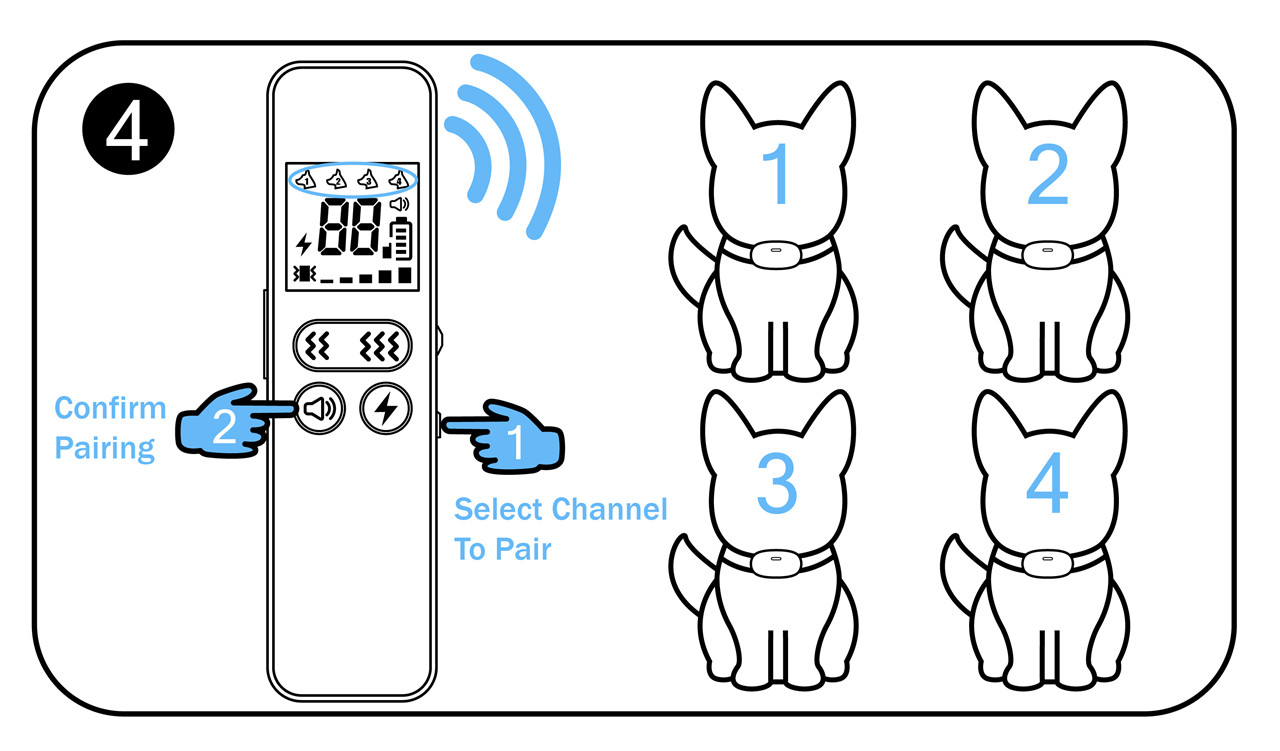
1. Receiver entering pairing mode: Ensure the receiver is powered off. Press and hold the power button for 3 seconds until it emits a (beep beep) sound. The indicator light will alternate between red and green flashes. Release the button to enter pairing mode (valid for 30 seconds). If it exceeds 30 seconds, you need to re-enter the mode.
2. Within 30 seconds, with the remote control in an unlocked state, press the channel switch button( )short to select the receiver you want to pair with (1-4).Press the sound button(
 )to confirm. The receiver will emit a (beep) sound to indicate successful pairing.
Repeat the above steps to continue pairing other receivers
1. Pairing one receiver with one channel. When pairing multiple receivers, you cannot select the same channel simultaneously for more than one receiver.
2. After pairing all four channels, you can use the( )button to select and control different receivers. Note: It's not possible to control multiple receivers simultaneously.
3. When controlling different receivers, you can individually adjust the levels of vibration and shock.
Note: The Grantee is not responsible for any changes or modifications not expressly approved by the party responsible for compliance. such modifications could void the user's authority to operate the equipment.
The device has been evaluated to meet general RF exposure requirement. The device can be used in portable exposure condition without restriction.


